Baldy Bowl – Ski Hut Trail climbs 3,900 feet over 4.5 miles to the highest summit in the San Gabriel Mountains. The trails ascends the southwest side of the mountain and is the shortest route to the top that does not involve the use of a ski lift. Expect an aggressive climb for most of the hike rewarded by views over San Antonio Canyon. Halfway up the mountain, the trail passes a Sierra Club Ski Hut that makes a good resting point. Baldy Bowl Trail can be combined with the other major route to the summit, Devil’s Backbone Trail, to form an impressive 11.3-mile loop on Mount Baldy.
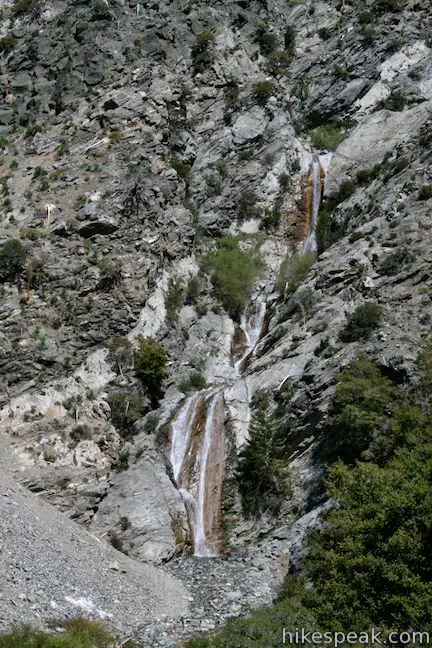
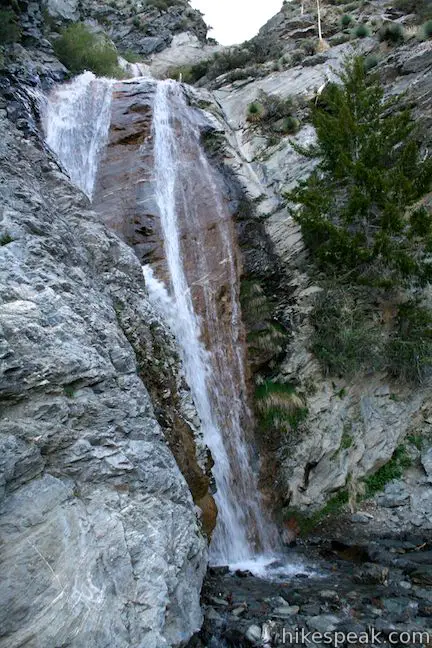
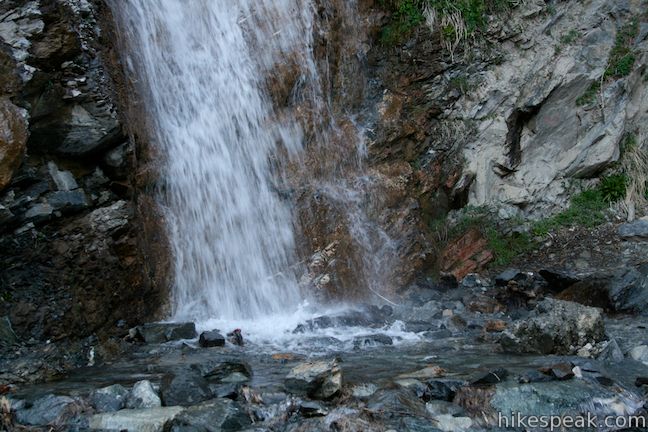
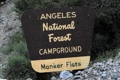
The trailhead for Baldy Bowl – Ski Hut Trail is located just above Manker Flats Campground on the left side of Mount Baldy Road. Start hiking up the paved Falls Road. After 0.6 miles, San Antonio Falls will appear, coursing down the mountain beneath Mount Baldy. The pavement ends and the road turns sharply to the right. Feel free to take a short detour down a path to the falls before continuing up the trail.
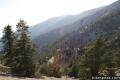
Not far above the hairpin turn, the trail curves to the left, offering a southward view over Manker Flats Campground in San Antonio Canyon. After the curve, keep your eye on the left side of the road where an unmarked single track trail breaks off up a gravel slope, a third of a mile past San Antonio Falls. This is the route to Baldy Bowl, so don’t hike past it.
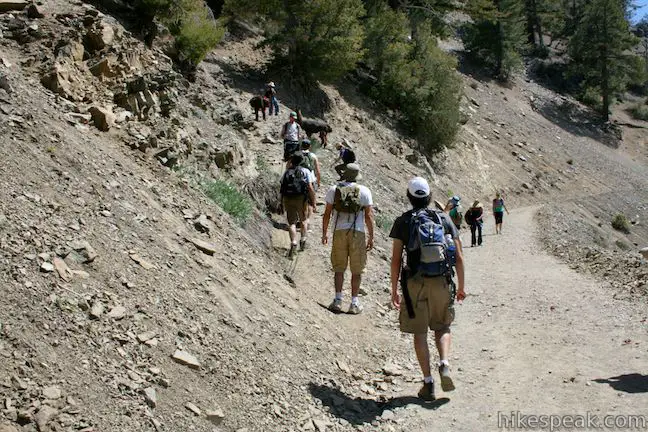
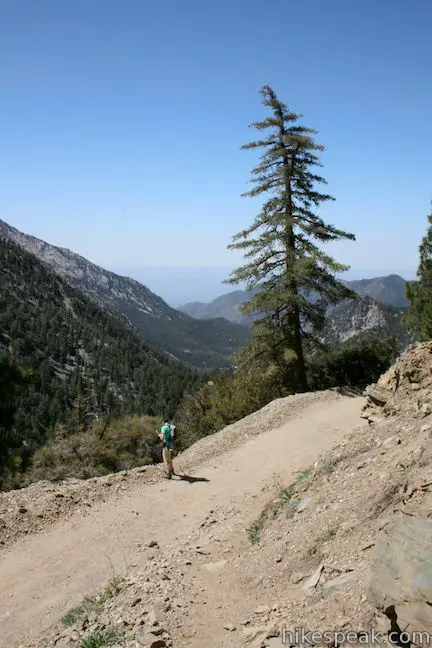
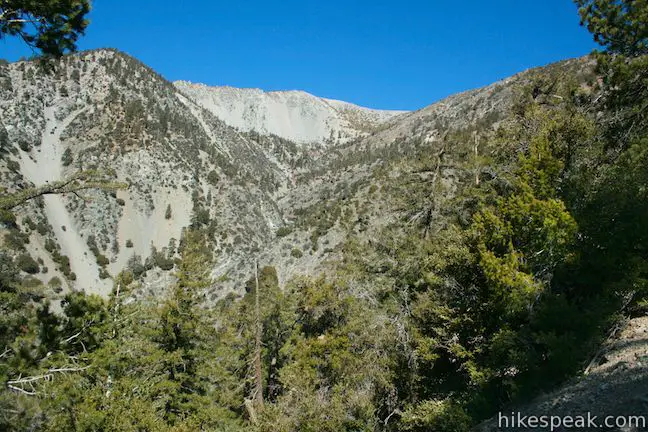
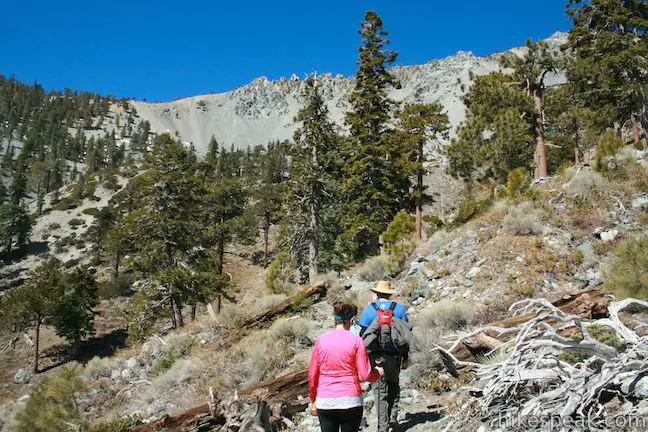
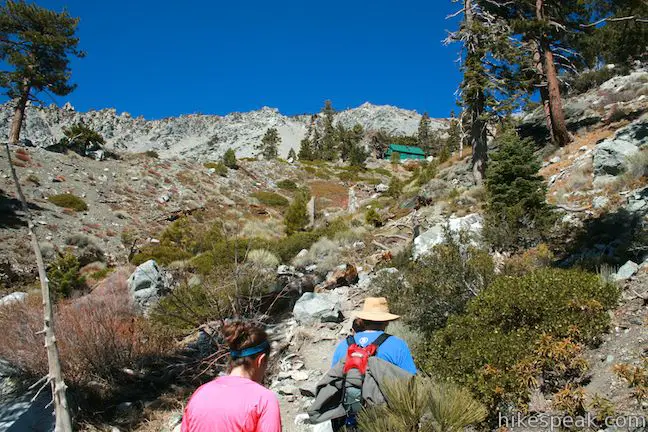
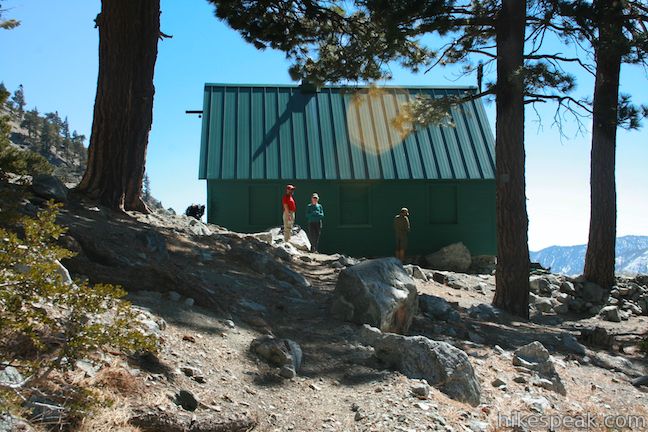
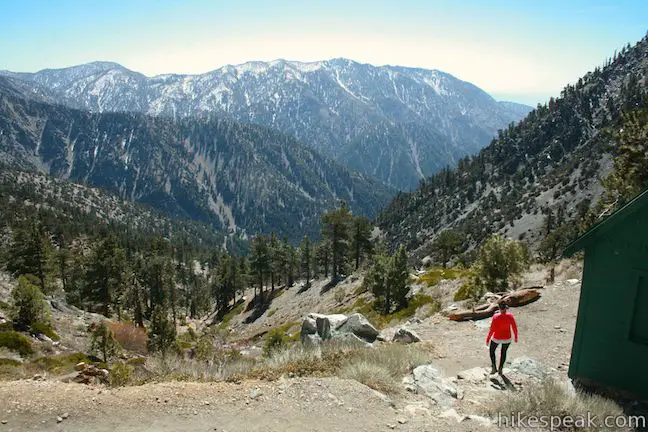
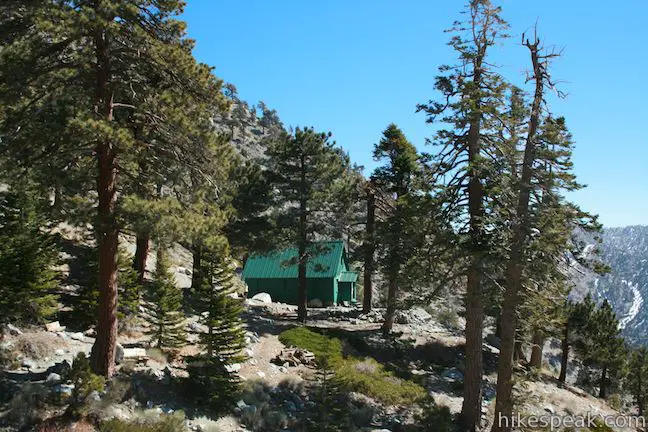
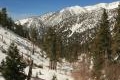
From here the trail becomes easier… to follow that is. The trail swings up the east side of San Antonio Canyon and really starts to climb. The ascent is aggressive but consistent. The steady grade rarely levels out or wavers. Through tall pine trees, you will have an expanding view of San Antonio Canyon. Above you, the green ski hut will come into view beneath the bald crown of Mount Baldy. There is just over 2,000 feet of elevation gain between the trailhead and the Sierra Club Ski Hut, reached after 2.6 miles of hiking.
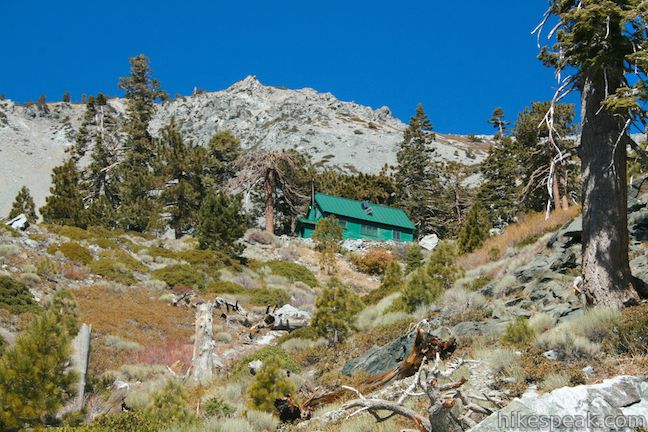
Take a moment to pause at the ski hut to take in the view and collect your strength. There is an outhouse alongside the hut and there may be cold spring water flowing from a tap just inside. However, do not count on this source because if no one is staying in the hut the water will be locked off.
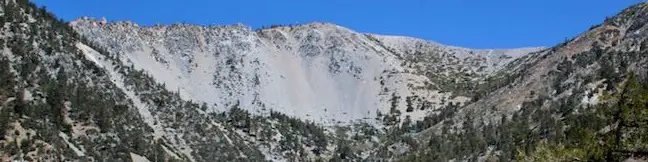
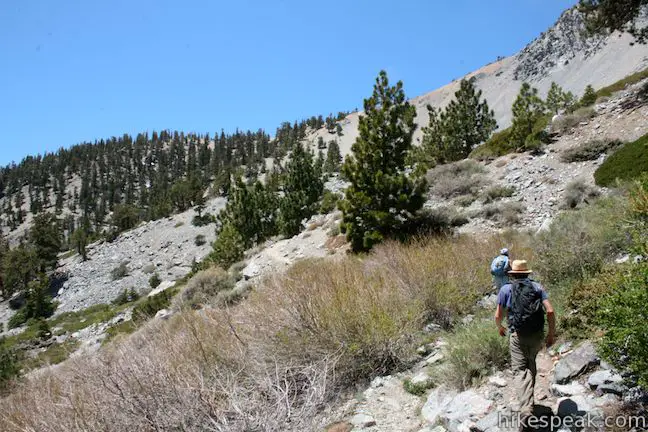
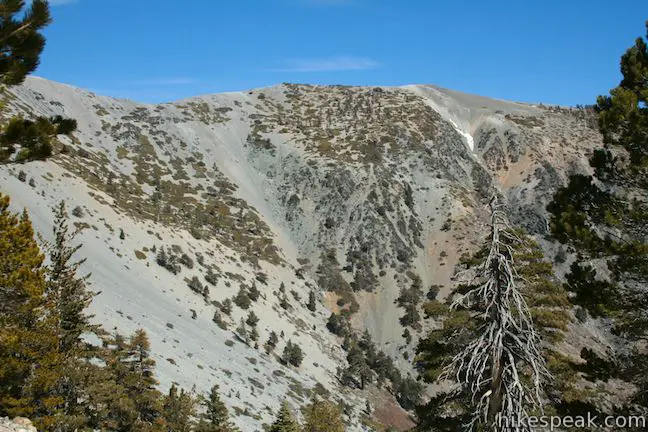
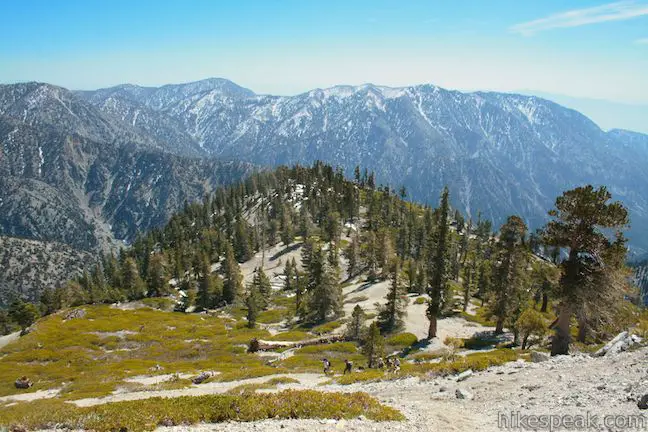
The next section of the trail is the easiest, unfortunately the segment after that is the hardest. From the ski hut, follow the trail west across Baldy Bowl to a ridge south of the summit. You will pass over large boulders, enjoying a short episode of gradual hiking. Once you reach the ridge, the climb is on. The dirt trail begins an unapologetic ascent through tall Jeffery pines. It seems like there should be more switchbacks on the way to the top of the ridge, but there aren’t. It is a 550-foot climb from the ski hut to the ridge top, tackled in 2/3 of a mile.
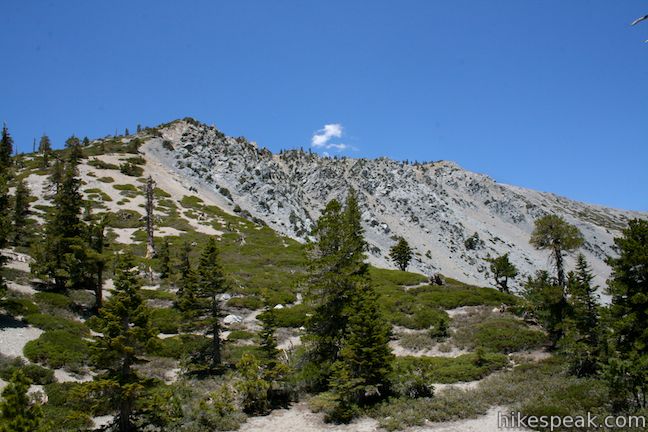
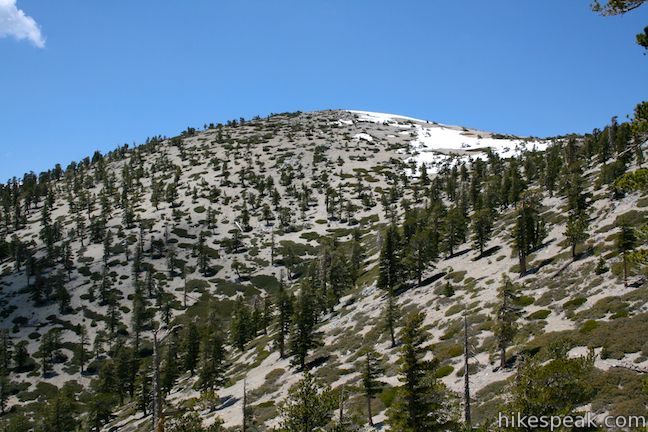
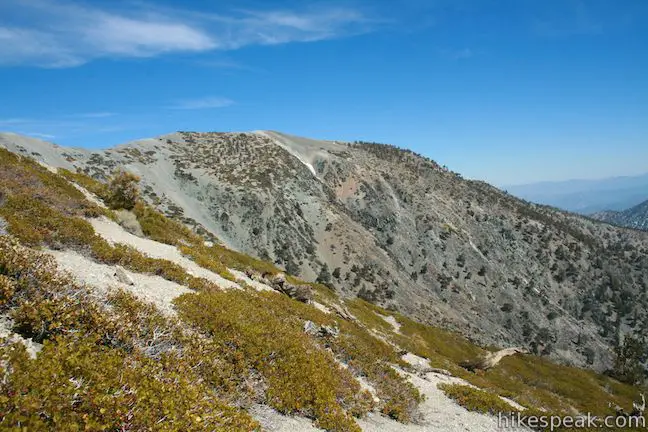
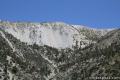
From the ridge, turn north up Baldy’s south face. The terrain becomes rockier and there are a few steep passages below the summit. Hike on knowing that your goal is close and that the toughest trail is behind you. The vegetation thins and the ground underfoot becomes loose in place. After a couple false summits, the trail finally levels out as you reach the large round mountaintop.
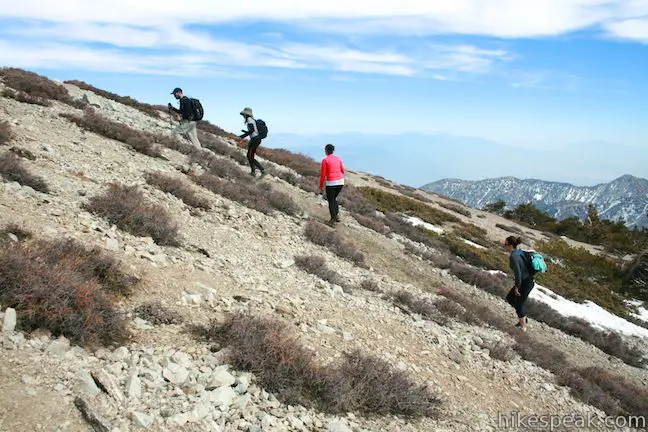
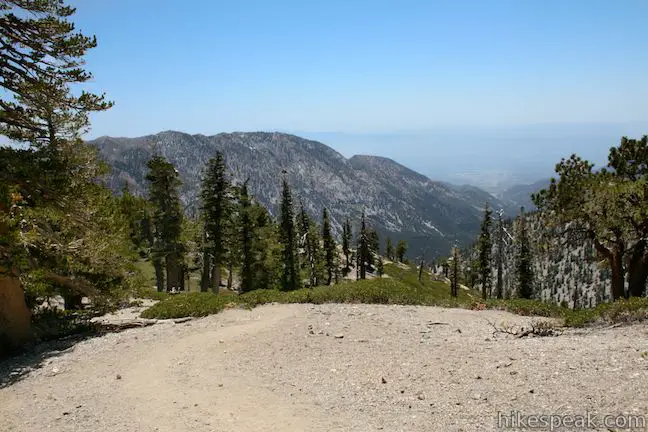
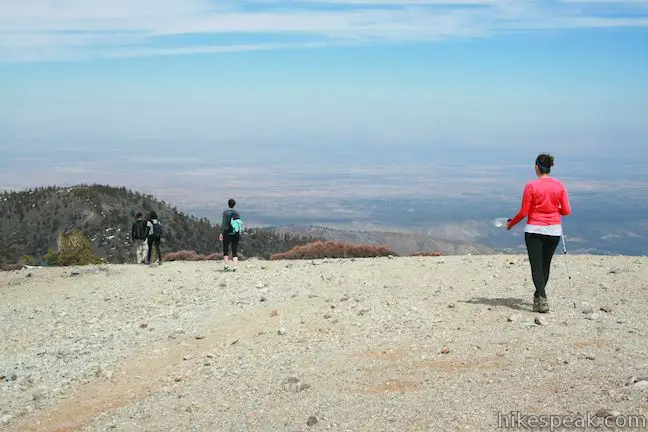
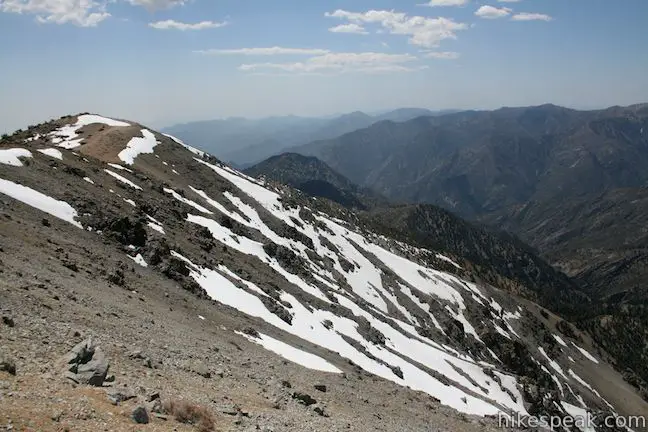
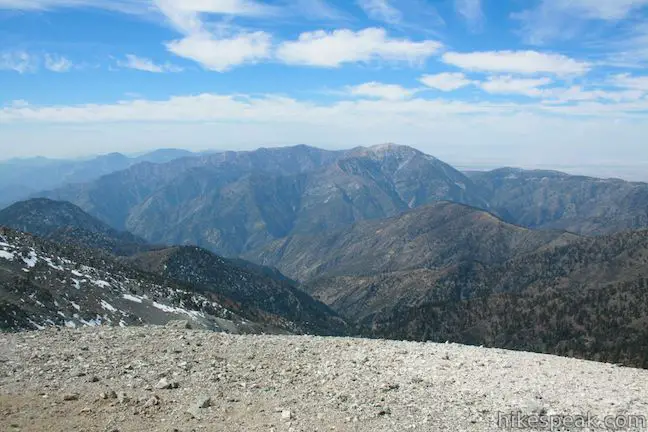
Enjoy the panoramic view from the highest point in the San Gabriel Mountains. You can see for miles over the range in every direction. Beyond the San Gabriel’s, Southern California’s other prominent summits, Mount San Gorgonio, Mount San Jacinto, and Santiago Peak are all in sight to the south and east. West Baldy, a slightly lower summit, occupies some of the view to the west, and there are mountain peaks and valleys stretching for miles in every direction.
Head back the way you came for a 9-mile round trip hike, or return by taking Devil’s Backbone Trail east to Baldy Notch and down to the trailhead as part of a 11.3-mile loop on Mount Baldy.
Directions to the Trailhead
- Take Interstate 210 east to Baseline Road (exit 52).
- Turn left at the light at the end of the ramp on to Baseline Road.
- Make the next right on to Padua Avenue.
- Drive 1.7 miles and turn right onto Mount Baldy Road (at a traffic light).
- Continue 7 miles up Mount Baldy Road through Mount Baldy Village (which has a visitor center) and follow the road for another 4.4 miles up the mountain past Manker Flats Campground to the bottom of Falls Road on the left.
- Park along Mount Baldy Road, display an adventure pass, and begin hiking up Falls Road.
Trailhead Location
Trailhead address: Mount Baldy Road & Falls Road, Angeles National Forest, Mount Baldy, CA 91759
Trailhead coordinates: 34.266172, -117.62684 (34° 15′ 58.21″N 117° 37′ 36.62″W)
View Mount Baldy in a larger map
Or view a regional map of surrounding Los Angeles trails and campgrounds.
San Antonio Falls

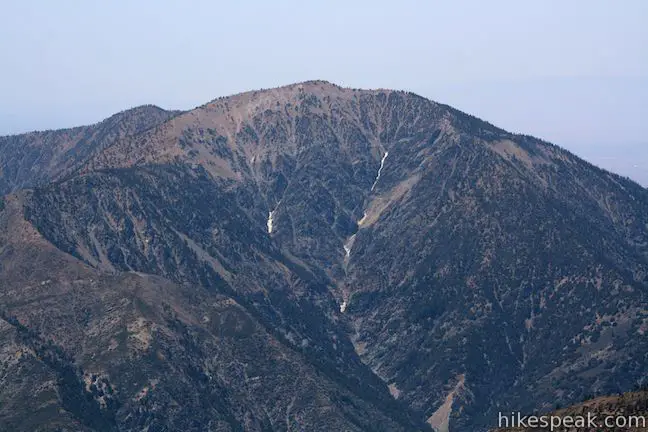
Baldy Bowl - Ski Hut Trail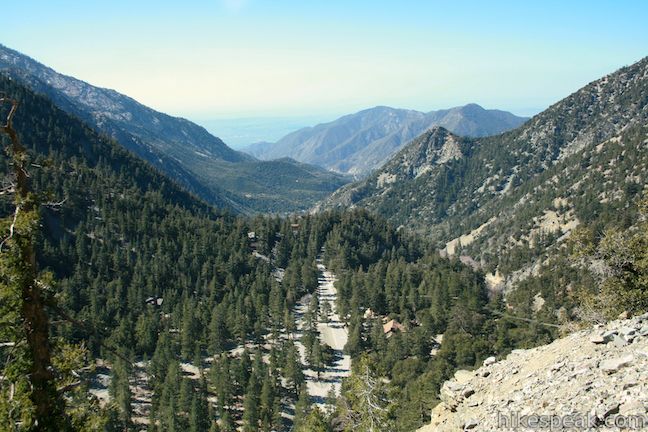


Views from the summit of Mount Baldy
 | Devil's Backbone This 3.2-mile ridge-top trail between Baldy Notch and the summit of Mount Baldy offers incredible views of the San Gabriel Mountains. |
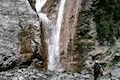 | San Antonio Falls This 1.4-mile hike visits a multi-tier waterfall along the trail to Mount Baldy. |
 | Baldy Notch To hike the scenic Devil's Backbone to Mount Baldy, you must pass through Baldy Notch. You can hike to the notch, or take a ski lift. |
 | Mount Baldy Loop This 11.3-mile hike incorporates the Devil's Backbone and the Baldy Bowl - Ski Hut Trail into one see-all loop. |
 | Icehouse Canyon Trail to Icehouse Saddle This 7.2-mile hike climbs 2,600 feet through a picturesque canyon to a saddle with panoramic views and extended hiking opportunities. |
 | More trails in the San Gabriel Mountains Explore other destinations in the range. |
 | Manker Flats Twenty-one sites service campers at the base of Mount Baldy. The grounds are nothing exciting, but if want a staging area for your ascent, this is it. |
Common Questions about Mount Baldy via Baldy Bowl – Ski Hut Trail in the San Gabriel Mountains
- Is the trail open?
- Yes. You should expect to find that Mount Baldy Loop is open. There are no recent reports of trail closures. If you discover that the trail is closed, please help your fellow hikers by reporting a closure.
- Do I need a permit for this hike?
- Yes. National Forest Adventure Pass.
- How much time does this hike take?
- It takes approximately 6 hours 15 minutes to hike Mount Baldy Loop. Individual hiking times vary. Add extra time for breaks and taking in the views.
- How long is this hike?
- The hike to Mount Baldy Loop is a 9 mile out and back with 3900 feet of elevation change.
- Are dogs allowed on this trail?
- Yes, dogs are allowed on Mount Baldy Loop. The trail is open to hikers, dogs.
- Is Mount Baldy Loop a difficult hike?
- This hike should be considered strenuous. Hikers should be prepared for a workout covering 9 miles and 3900 feet of climbing.
- Does this trail go to a summit?
- Yes, Mount Baldy Loop reaches a summit with panoramic views.
- What mountain range is this trail in?
- Mount Baldy Loop is located in the San Gabriel Mountains.
- Where is the trailhead located?
- The trailhead for Mount Baldy Loop is located in Mt. Baldy, CA.
Trailhead Address:
Mount Baldy Road & Falls Road
Mt. Baldy, CA 91759
Trailhead Coordinates:
34.266172, -117.62684 - What are the driving directions to the start of the hike?
To get to the trailhead: Take Interstate 210 east to Baseline Road (exit 52). Turn left at the light at the end of the ramp on to Baseline Road. Make the next right on to Padua Avenue. Drive 1.7 miles and turn right onto Mount Baldy Road (at a traffic light). Continue 7 miles up Mount Baldy Road through Mount Baldy Village (which has a visitor center) and follow the road for another 4.4 miles up the mountain past Manker Flats Campground to the bottom of Falls Road on the left. Park along Mount Baldy Road, display an adventure pass, and begin hiking up Falls Road.
View custom Google Maps directions from your current location.
- Are there other trails near Mount Baldy Loop?
- Yes, you can find other nearby hikes using the Hikespeak Hike Finder Map.

22 Comments on Mount Baldy via Baldy Bowl – Ski Hut Trail in the San Gabriel Mountains
What hikers are saying:
✨ Generated summary of user commentsHikers find this trail to be a steep and unforgettable pilgrimage through beautiful landscapes, though the terrain is notoriously difficult to navigate. The path is poorly marked and features dangerous false trails that lead into hazardous ravines, so staying high on the ridge during descent is vital. Arriving before 7 a.m. is considered necessary to secure a spot on busy weekends. Gregory advises bringing two hiking poles to manage the loose rock and steep slopes.
[…] stories about how to hike this 10,064 foot summit and in the end, we concluded that ascending via Baldy Bowl and descending along The Devil’s Backbone, making for an 11.3 mile hike, was the best route […]
Thanks for the info! My wife and I plan on hiking this one tomorrow..
Hi. What are the Baldy Bowl Elevations. I am concerned about thaw ’cause I want to ascend The Bowl on Thursday 3-5 (2015). Forcast shows freezing level at 8900′, Highs around 36 deg. at 8203′ on Thursday. Maybe you have a topo handy? Think The Bowl will stay frozen early Thursday or will it be in Avy mode? –Robert
The ski hut is at 8,200 feet and you ascend 2,000 feet to get there.
ROBERT BUSTAMANTE, how was it? I am thinking of going up the bowl with hopes of a ski down on 3/7/15. Let me know!
Just hiked ski hut April 2 2015. From San Antonio falls parking lot. This quickest but very difficult to find trail because of trail washout due to rain paths and very steep terrain. The best way to stay on the main trail is stay to the east and stay close to the top of the ridge. If you venture westward down in to canyon to see plane wrecks you will need to head straight back up the hill the way you came or you risk your life. STAY to the left as you descend very close to the top of the ridge. After you pass the hut, you will need to keep very close to mountain wall. It is very easy to descend on a false trail that is well tracked by other hikers that leads down into the bottom of the canyon. Stay out of that canyon because it narrows into a very dangerous waterfall. If you get to low you will encounter a large washout about 1 mile below ski hut. The only way to cross is at the very top of this washout,otherwise. It is very easy to get lost when you hike up devils backbone and return via ski hut, because of all the false trails.
was there any snow there?
Yes. This happened to our hiking party this past weekend. This trail is basically unmarked after the Ski lodge. It is super easy to get lost. And end up in a dangerous situation in that river ravine. At the very end, on the left bank, there is a section marked by pink ribbon that shows the way back to the real trail. It was then that the rescue helicopter hovered overhead after we had already found the way back and could see the trail and the road in the distance. A half hour earlier we would have gladly been plucked from the ravine by the rescue!
When you descend ski hut trail you will pass manker flat to the right but after that keep close to the top of the ridge and always keep to the left. there are well trodden false paths leading down into the canyon. Stay as high to the slope as you can, it is very easy to lose your way. Take it from someone who is very familiar with this area.
Ski hut trail very steep loose rock do not even consider if you don’t have two hiking poles.
We are looking to do the loop this weekend (5/23). Has anyone been to the top recently. Is there snow and are microspikes needed?
We were thinking of doing the Summit via the Ski Hut this weekend Jan 16 or 17th, starting from Manker Flats. Has anyone been up there since the storm last weekend? Are crampons necessary?
What about just to the Hut? Thank you!!
Is the trail dog friendly?
Dogs are allowed.
If you attempt to descend via this trail from the Summit, be very, very, very careful. This trail is basically unmarked after the Ski lodge. It is super easy to get lost. And end up in a dangerous situation in a river ravine. The terrain is very difficult with very loose material. Our party of five got out without injury but one could easily get seriously hurt or even die in that ravine.
At the very end, on the left bank, there is a section marked by pink ribbon that shows the way back to the real trail. It was then that the rescue helicopter hovered overhead after we had already found the way back and could see the trail and the road in the distance. A half hour earlier we would have gladly been plucked from the ravine by the rescue!
Amazing hike. Did it a few days ago and most of the trail was coverd in four feet of frozen snow. Got an alpine start, but even by the time we were done the snow was thawing quite a bit. Be extremely careful of softening snow adding to already extremely high avalanche danger. Ice ax, crampons, and helmet are a must if attempting summit.
I have gone to the top of the mountain 6 times the landscapes are truly beautiful are unforgettable experiences
My husband and I just hiked to the Summit via Devils Backbone. We decided not to take the Ski Lift. We made it to the summit in about 3 hours. The crazy part began when we decided to descend via the Ski Hut/Bowl trail. We never passed the ski hut. We ended up hiking all the way to the Village. Towards the end we were walking in the dark for an hour with our cell phones as our light. When they say the trail is unmarked BELIEVE it. We have no idea where we left the trail or if we were ever on it. The trail we were on was a very traveled one so there was no indication we were not on the correct trail until it was too late. We had no cell service and no idea where we were. We ended up following the sound of water and finally came to a house back in the woods and followed that road to the Lodge in the Village. It was a very frightening experience. Our car was parked 5 miles up at the ski lift. Charlie, the bartender at the Lodge was kind enough to give my husband a ride to our car. My two cents….pink ribbons don’t cut it as trail markers.
The trail is snow free from the trailhead to the boulders just past the ski hut. Once you start the ascent from there you will encounter patches of snow that will increase as you continue up the mountain. the trail just below the summit is a field of snow. Make sure you have baskets on your poles to keep from having one sink.
Ran the 11.3 mile loop, ascending via Devil’s Backbone, and returning via Baldy Bowl/Ski Hut trail. One tough trail, but up, and down. I was shocked at how poorly the entire trail is marked, and kept, and as a first timer, had to ask a couple people if I was “still” on the correct trail(s). Seems like something that could become so dangerous should be much better marked and cared for. It’s no joke to get there before 7am on the weekends or you’ll not find a parking space!! I arrived at 5:30am, and people were already there, and starting the trek in headlamps! Hard to believe this is such a pilgrimage for people in the Los Angeles area, and it’s so poorly marked and maintained. The trails are no joke, and are ridiculously steep. Been backpacking and running rim-to-rim in the Grand Canyon for years, and the Baldy loop made the Grand Canyon look like child’s play!
Do you need a day use permit to hike this?
No permit needed. But you need a forest adventure pass to park.